So my Sis-In-Law recently hit a milestone birthday, and I wanted to make something appropriate to the gravity of the situation that celebrated our shared nerdiness. First I made a dragon outline from 18 gauge silver wire:

I felt like it came out well! The little hanging loops at the tops of the wings worked great, and I was pleased with how the ends hid in the end of the tail. But the wings were a little off-proportion and the whole thing seemed a bit... empty. So I set to work looping 26 gauge silver wire in rows starting from the top edge of the right wing:

I love how lacy and scaly it looks, and I'm still pretty shocked that my first try worked out so well. Here's the fully filled out wings:

After filling out the wings so nicely, I felt our dragon needed some head spikes to even out the detail. Sorry for the low-quality close-up, but here are her spikes:

Again this detail was added with 26 gauge wire. Here's a more distant view, along with the spine I added so I could attach the rib plates:

Each rib is comprised of a doubled and twisted strand of 26 gauge wire, which I then coiled around the spine I had created. My attempts to coil those ends resulted in my breaking the spine piece repeatedly, so I ended up twisting in two more strands to strengthen the spine.

Finally the pendant was finished! Here's the complete dragon:

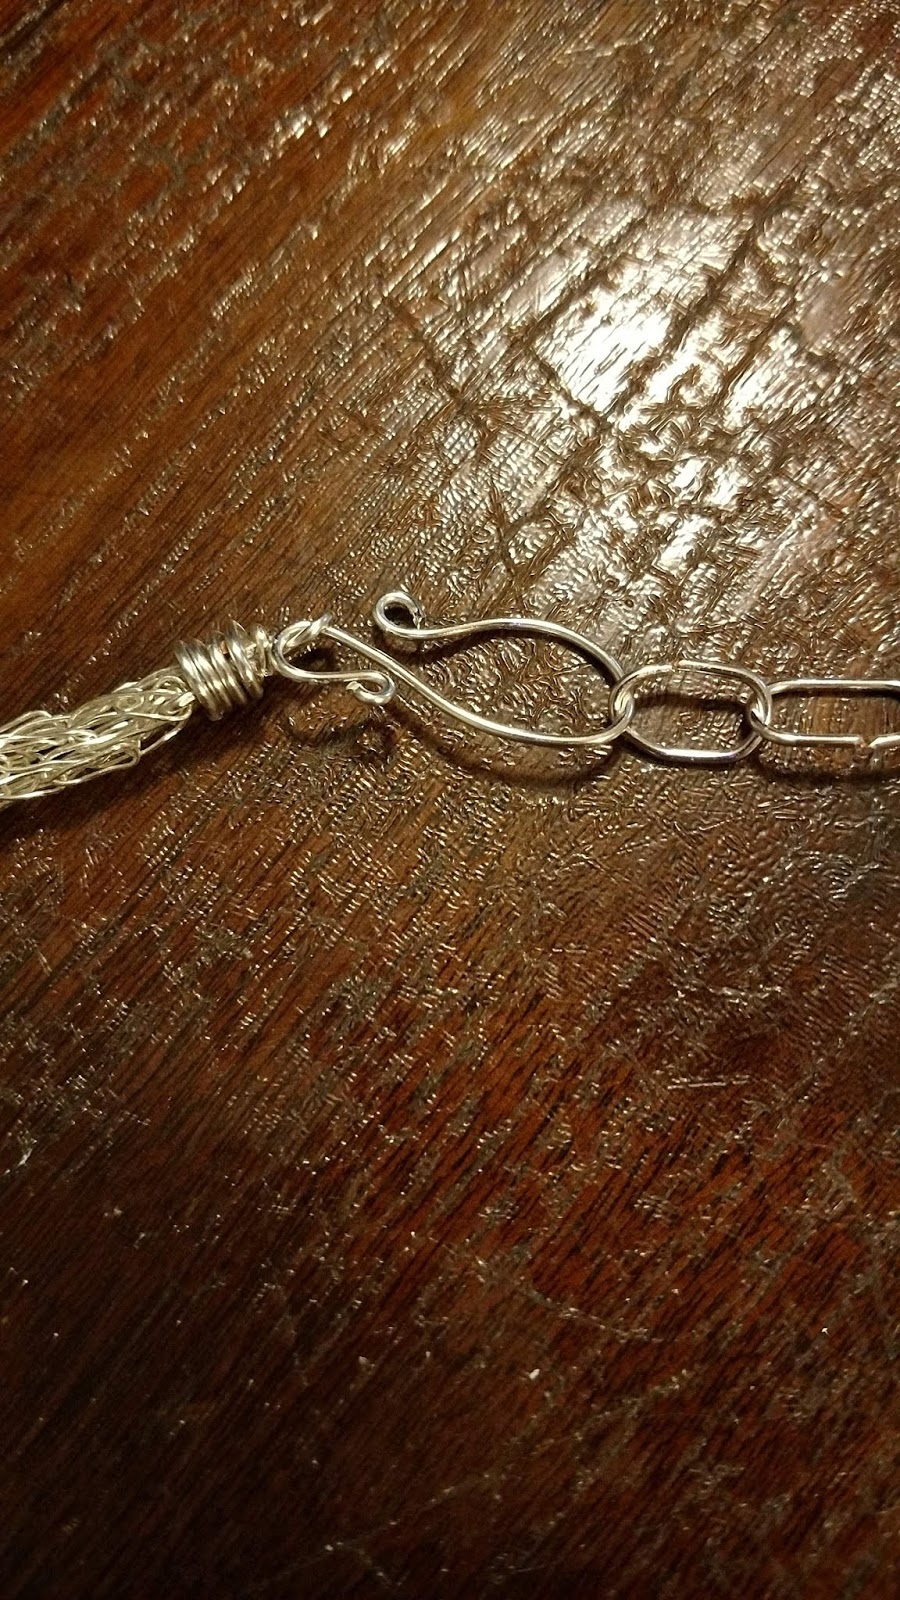
Next I needed to set her on a necklace. I used the 26 gauge to make two lengths of Viking Knit chain, which is a very exciting technique I'll tell you more about some other time:

Then I used the 18 gauge to create endcaps for the chains, a closure hook, and a large-link closure chain to allow for variable lengths:
Et Voila! A masterpiece is born. This dragon necklace was a fantastic adventure to make, and a piece of art I'm pretty proud of. Thanks for joining me!
